Webhooks
Webhooks are automated messages sent from one system to another when a specified event occurs. Unlike traditional APIs that require frequent polling to retrieve updates, webhooks operate on a push model, providing you with real-time information as soon as an event occurs.
Webhooks can be managed and customised in the SatVu platform via the API. Once configured, notifications will be triggered by the selected events - sending an HTTPS message to the specified webhook URL. This enables seamless integration with external systems, making it ideal for automating workflows and receiving instant updates
The body of webhooks sent by the SatVu platform follow the Standard Webhooks specification.
Creating webhooks through the web application
1. Access the webhooks page in account settings
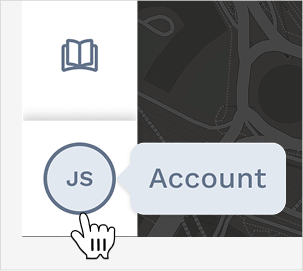
Go to your account settings page by clicking on your profile menu
From the left side menu, click on the Webhooks section to open the Webhooks page.
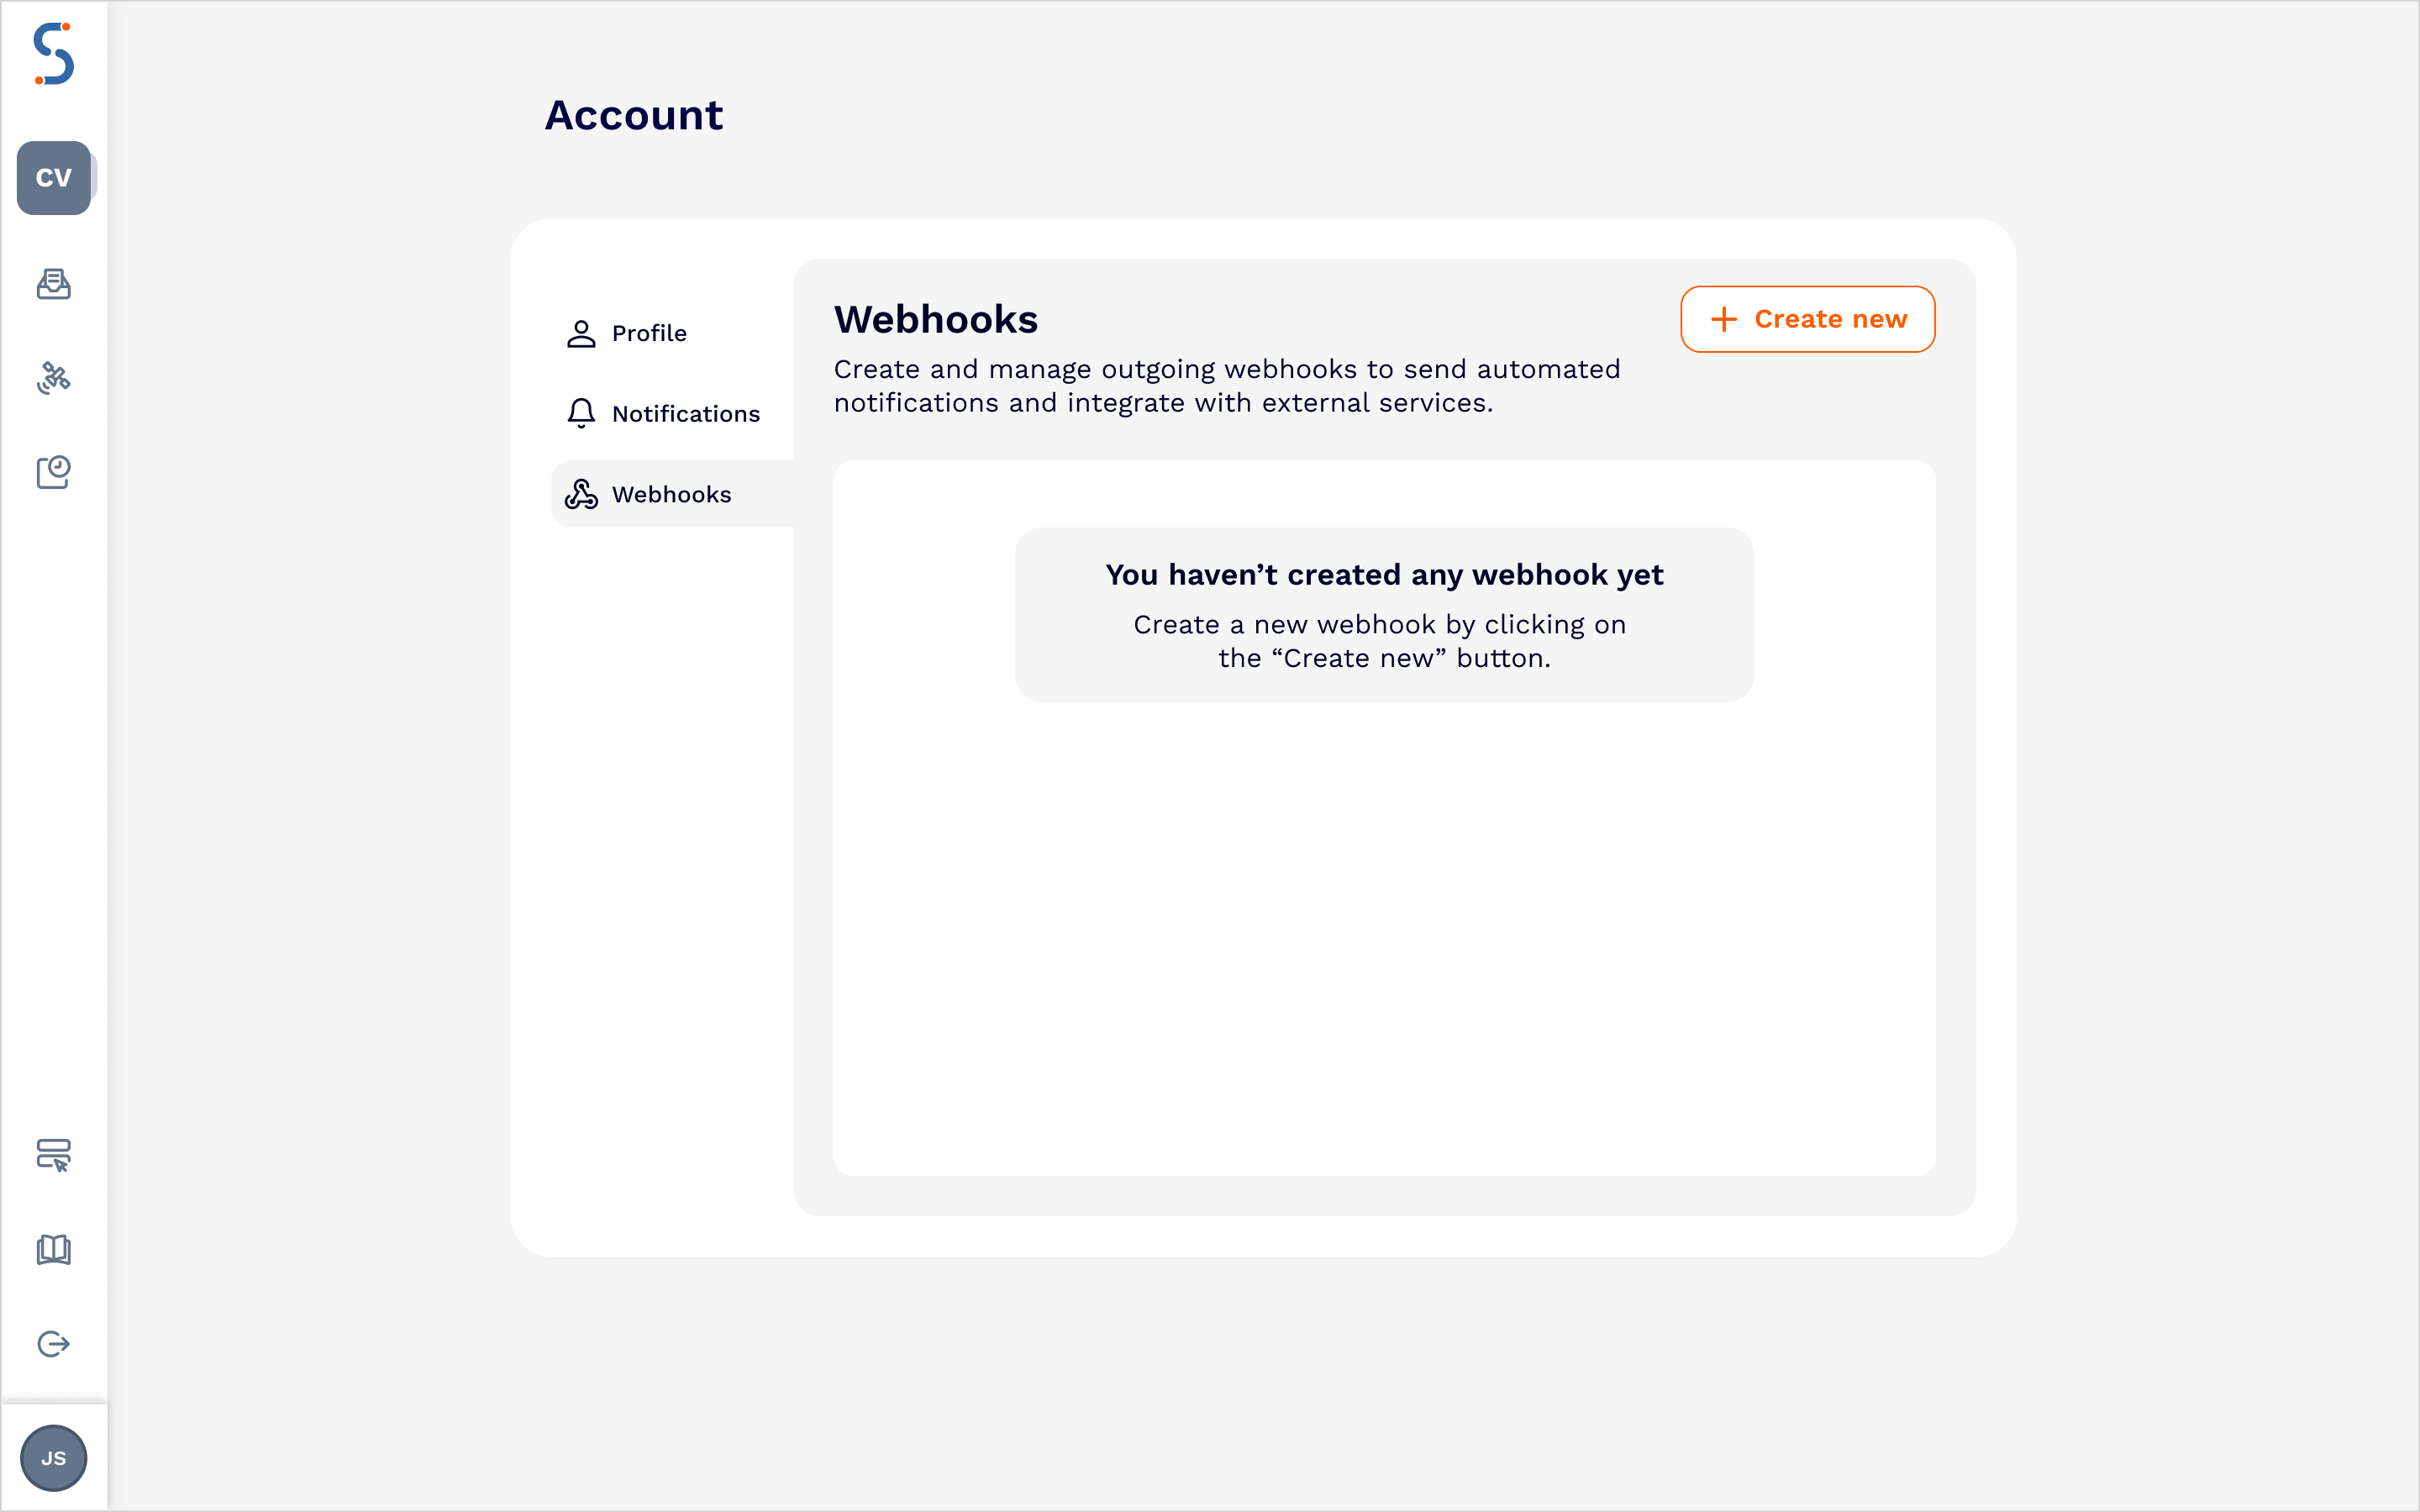
2. Create a new webhook
Click on the Create new button to create a new webhook. This will open a form where you can configure the webhook details as follows:
| Field | Description |
|---|---|
| Webhook Name | A custom name for your webhook. Each of your webhooks should have a unique name |
| URL | The unique URL where the webhook will send the notification to |
| Event Types | The events that will trigger your webhook. You can specify multiple events. |
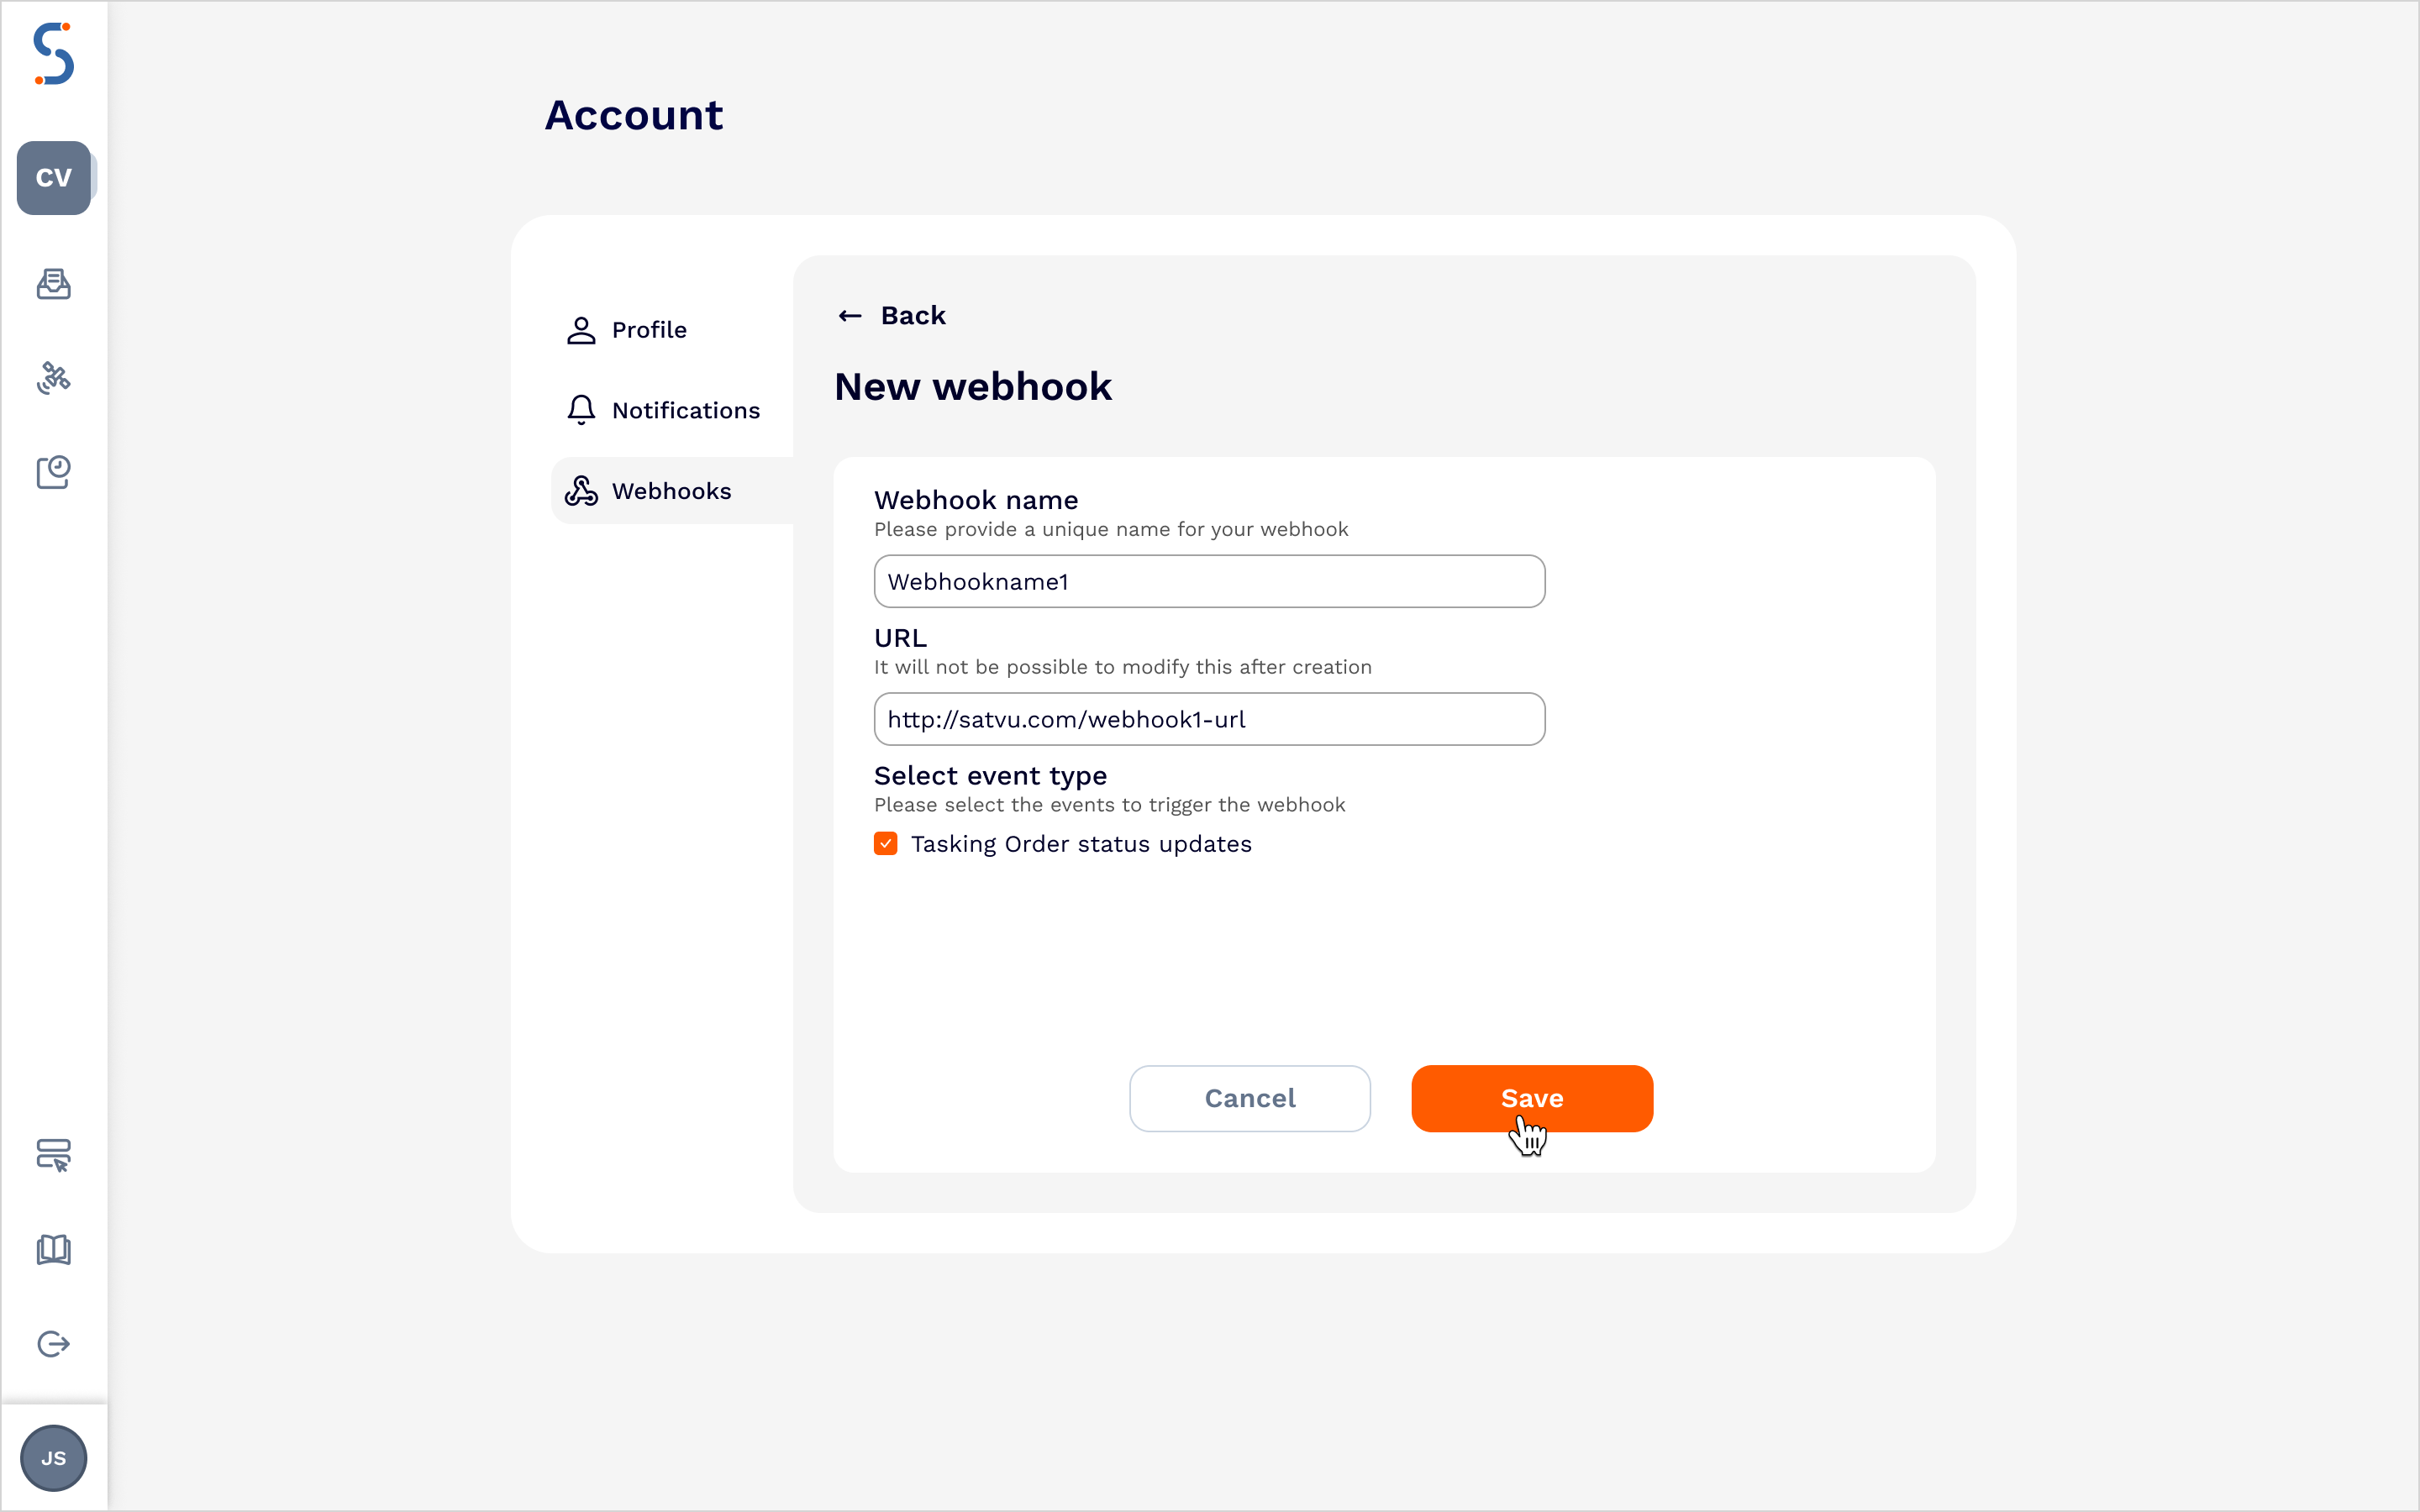
Webhook URLs must use HTTPS to ensure secure transmission of data. HTTP is not supported.
After you create the webhook, a webhook secret will be generated and displayed. This secret will be needed to validate the connection between SatVu and your endpoint. The secret cannot be displayed again, so make sure to copy and store it securely. If you lose the secret, you can rotate it later in the web application or via the API. See the Webhook Security section for more details
3. Test a webhook
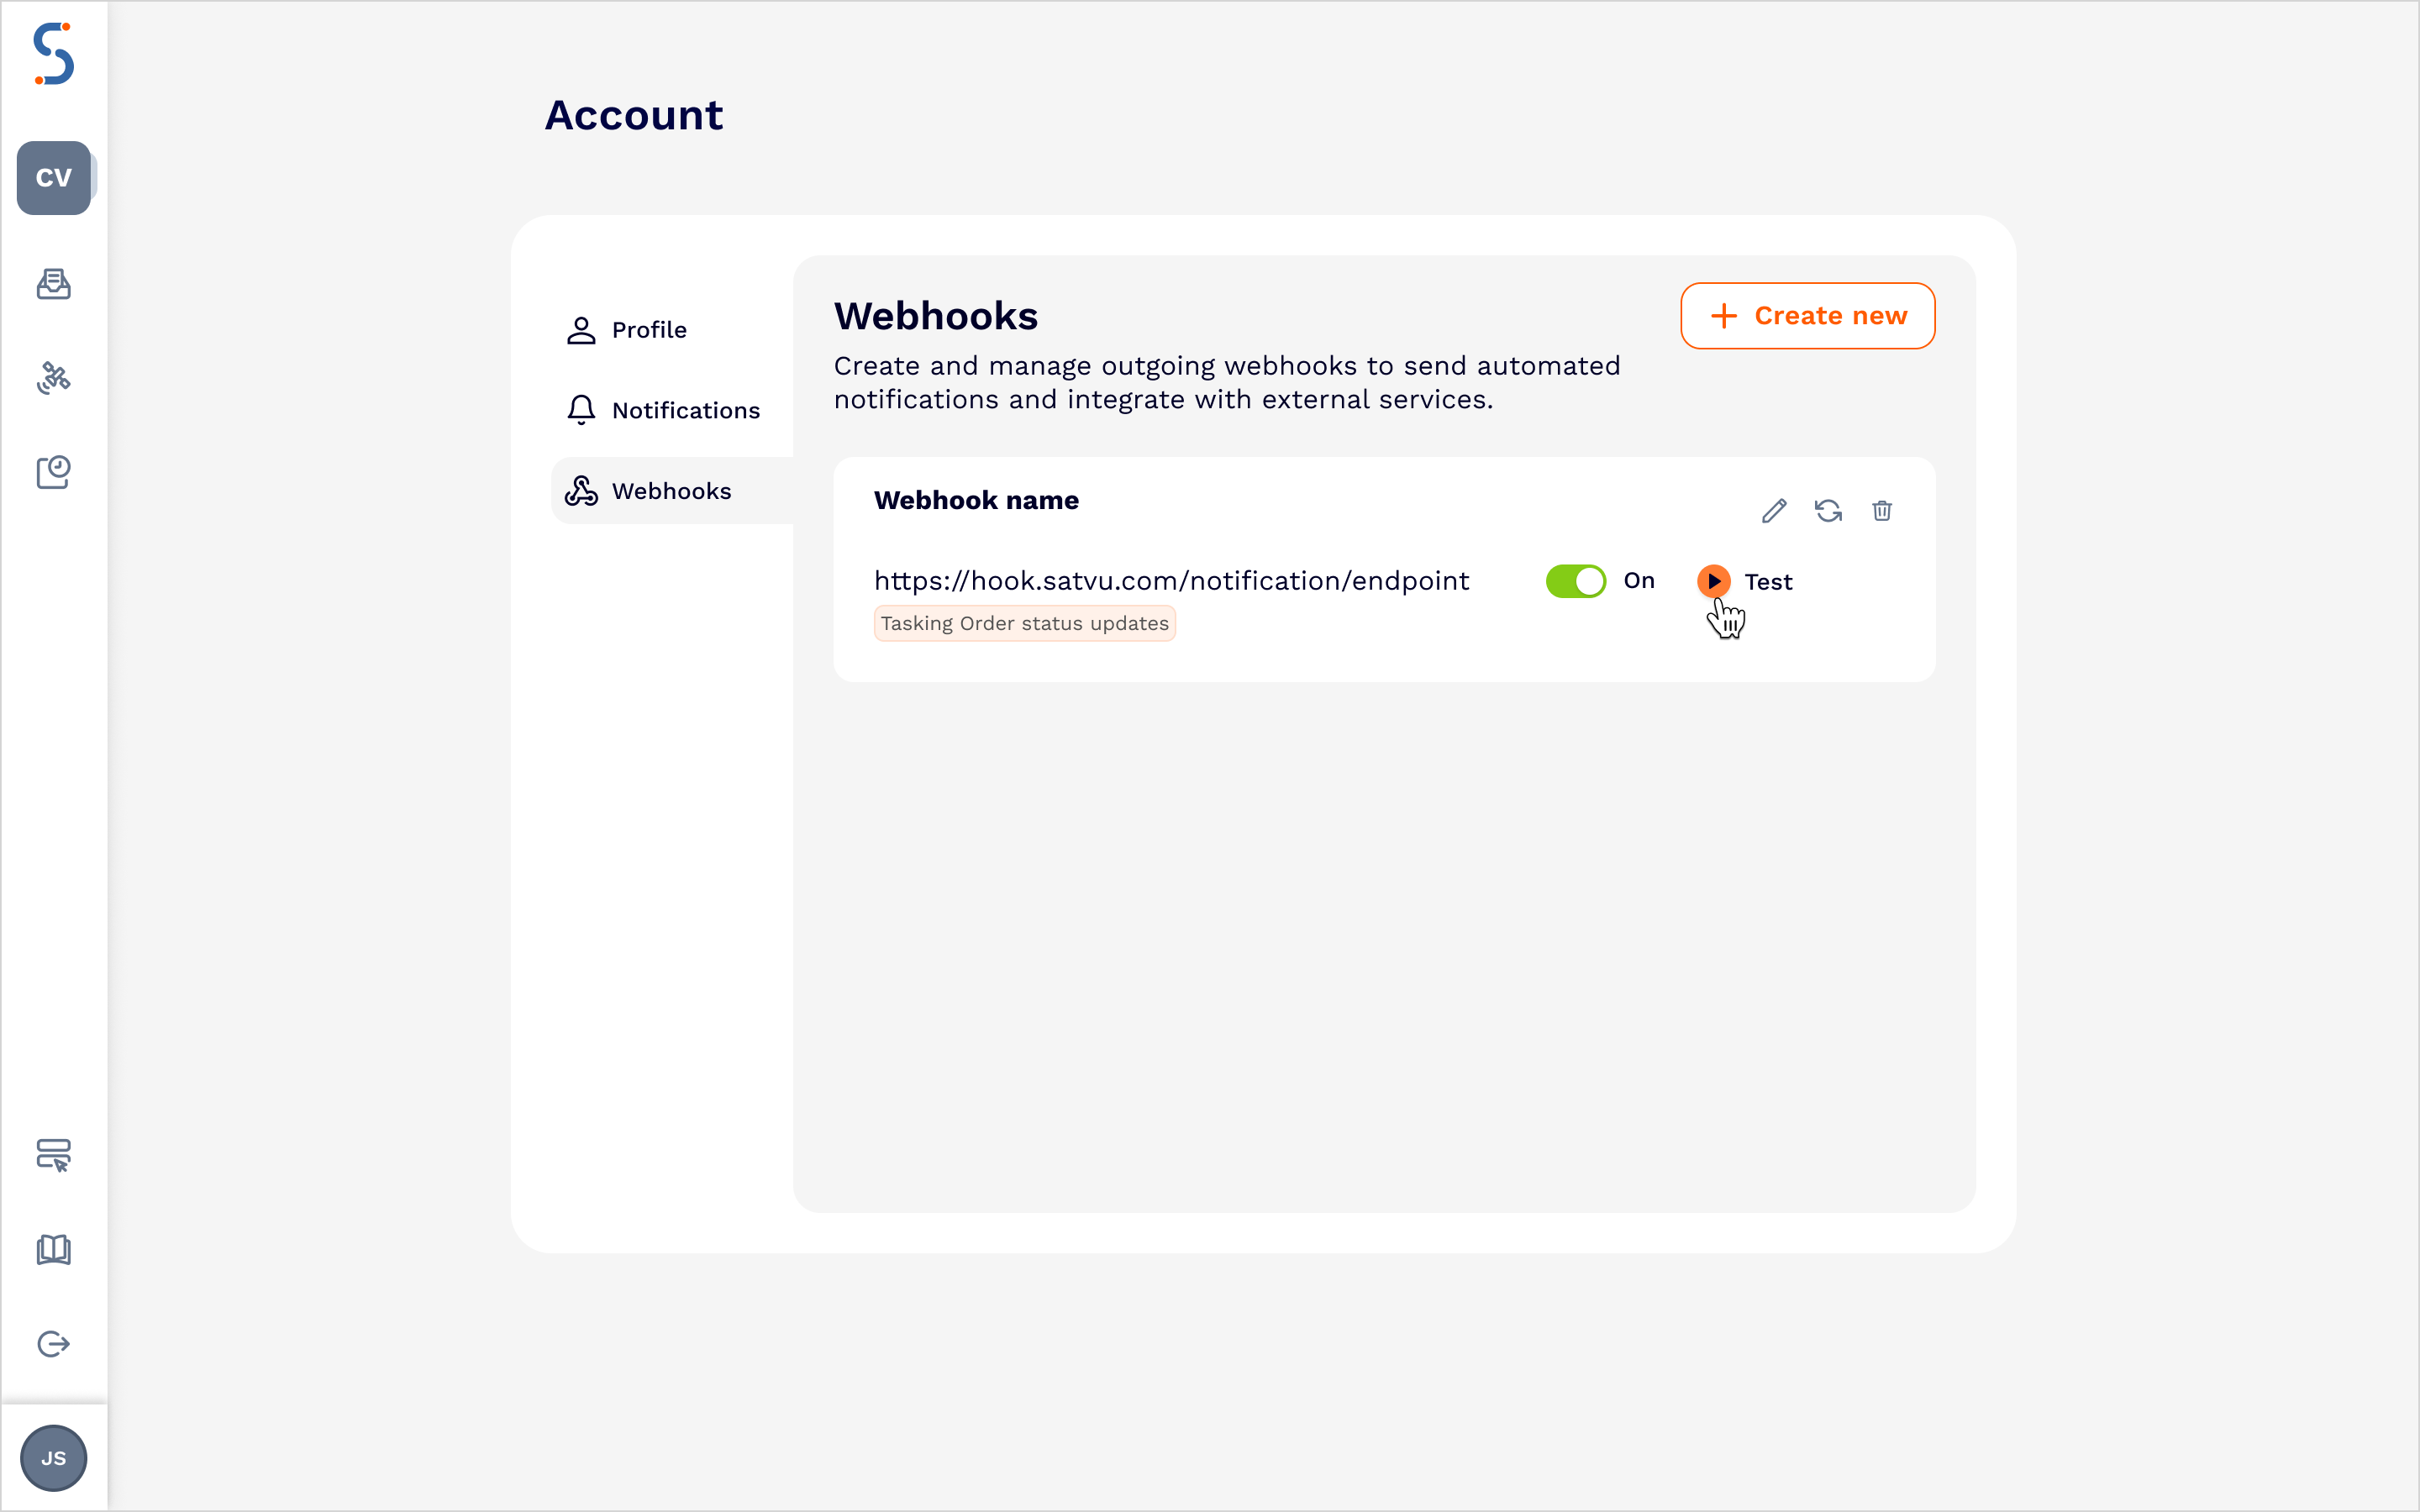
Once the webhook is created, use the Test button to send a test event to the configured endpoint. If the webhook successfully sends (indicated by a 200 OK response from the endpoint), the test will pass. If there is an error, the interface will display the error code returned by the URL endpoint. The test will time out after 5 seconds if there is no response from the URL endpoint.
Creating webhooks through the API
This section outlines how to create and test a webhook using the API. For more details, see the full webhooks API reference.
1. View available events
To view a list of events available for triggering a webhook, use the GET /webhooks/events endpoint.
curl -X GET "https://api.satellitevu.com/id/v3/webhooks/events/" \
-H "Authorization: Bearer ${ACCESS_TOKEN}"
The response includes a list of event topics, along with a short description for each.
[
  {
    "topic": "tasking:order_status",
    "name": "Tasking order status updates",
    "description": "Receive notifications for all tasking order updates"
  }
]
2. Create a new webhook
To create a new webhook, use the POST /webhooks endpoint. The request body should contain the following fields:
| Field | Format | Description |
|---|---|---|
| name | string | A custom name for your webhook. Each of your webhooks should have a unique name |
| url | string | The unique URL where the webhook notifications will be sent. |
| events | list of strings | A list of event topics which will trigger the webhook. The format should match the topics listed by the response of the GET /webhooks/events endpoint |
Webhook URLs must use HTTPS to ensure secure transmission of data. HTTP is not supported.
Example request:
curl -X POST "https://api.satellitevu.com/id/v3/webhooks/"
-H "Authorization: Bearer ${ACCESS_TOKEN}"
-H "Content-Type: application/json"
-d '{
"event_types": [ "tasking:order_status" ],
"name": "My Webhook",
"url": "https://my-webhook-url.com"
}'
3. Test a webhook
After creating a webhook, use the POST /webhooks/{webhook_id}/test endpoint to send a test event to the configured
URL. An example request is below:
curl -X POST "https://api.satellitevu.com/id/v3/webhooks/{id}/test"
-H "Authorization: Bearer ${ACCESS_TOKEN}"
The test response includes the webhook information, along with the webhook test result fields:
| Field | Description |
|---|---|
| success | True or False on whether the test request was successful or not |
| status_code | Status code returned by the webhook URL, if applicable |
| detail | Reason for the test failure, if applicable |
Viewing and editing webhooks
To view or edit your created webhooks, return to the Webhooks page in Account Settings. Here, you can:
- Update the webhook’s name
- Add or remove events which trigger the webhook
- Toggle the webhook’s status to enable or disable notifications
- Rotate the webhook secret
You can also manage webhooks through the API. See the full ID API reference for further details.
Webhook security
To ensure secure communication between SatVu and your endpoint, each webhook includes a secret generated upon creation. This secret is used to create a signature included in the HTTPS headers of each webhook request. You can use this signature to verify that incoming requests are genuine and unaltered.
Rotating webhook secrets
After creation, you will not be able to view your webhook secret again. You can obtain a new secret for a webhook through the API.
To get a new secret through the web application, access the webhooks page through the account settings and click on Rotate Webhook secret from the sub menu
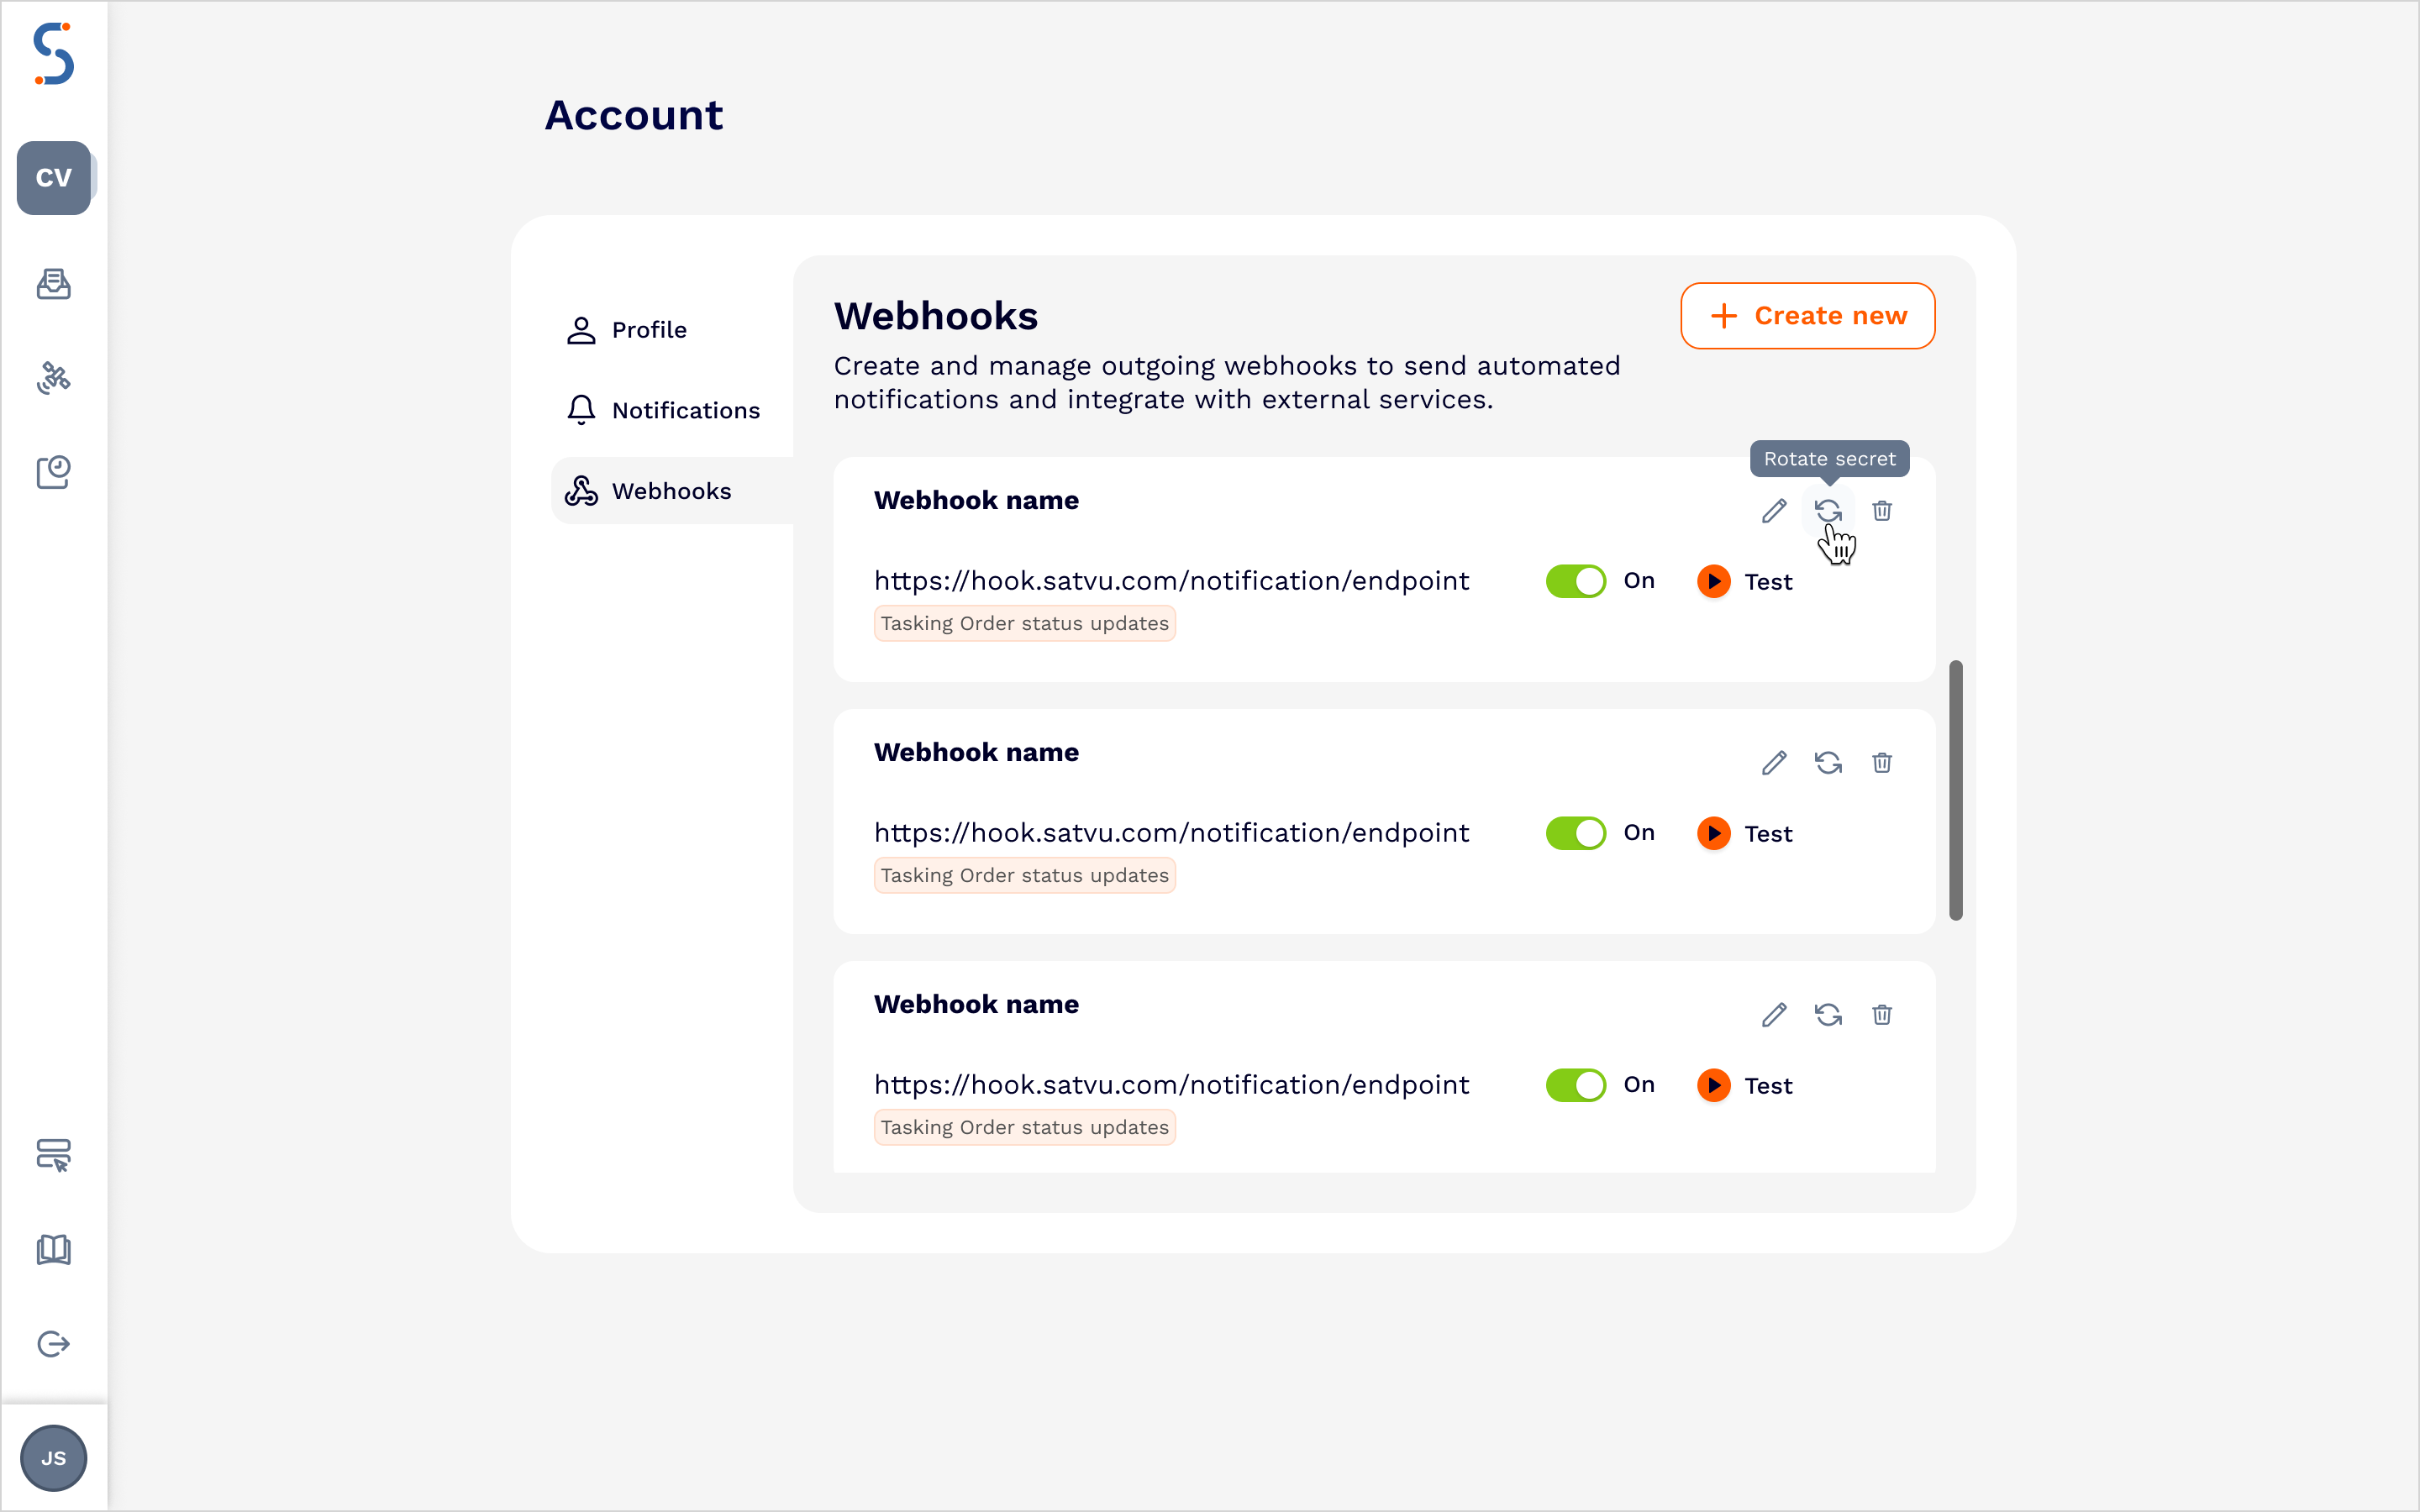
In the API, use the POST /webhooks/{id}/rotate endpoint
curl -X POST "https://api.satellitevu.com/id/v3/webhooks/{id}/rotate/" \
-H "Authorization: Bearer ${ACCESS_TOKEN}"
Webhook retries
When a webhook is sent, SatVu will check for a 200 OK status code from the endpoint. Any other status code will be
treated as an error. In the case of a failed delivery, SatVu will retry the webhook up to 5 times over a 6-hour period.